
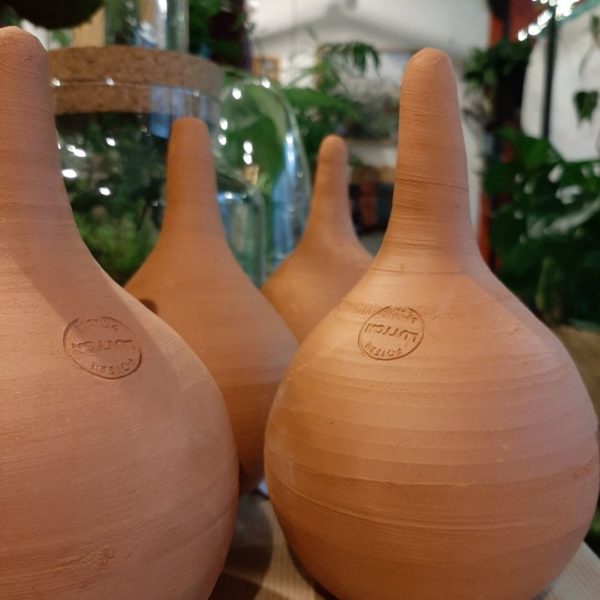
Ollas à planter émaillé / Lutton Jane Nantes
Ollas (pronounced "oh yahs") are an old mode of irrigation that originated in China and North Africa over 4000 years ago. Clay pot irrigation was described in writing then but was most likely used in gardens centuries before that. The basic premise is the water would leach slowly from the clay pot and reach a plant's roots.
Ollas à planter Gamme Intérieur
A garden olla works using a process of soil moisture tension, a measurement of the force needed for roots to get water from the soil. So when the soil is dry, the water is drawn out through the porous wall of the olla and available for the plant's roots to take up. When the soil is adequately moist, the water remains in the vessel.
Ollas à planter émaillé / Lutton Jane Nantes
1. Drill a hole into your olla clay pot (see Image #1, below) 2. Attach the T outside the olla, or inside the olla, your choice (see Images #2 and #3, below). 3. Attach the rest of the tubing—one end will be attached to the water source, such as a rain barrel, and one end to the next olla. Then continue running the tubing olla to olla. 4.
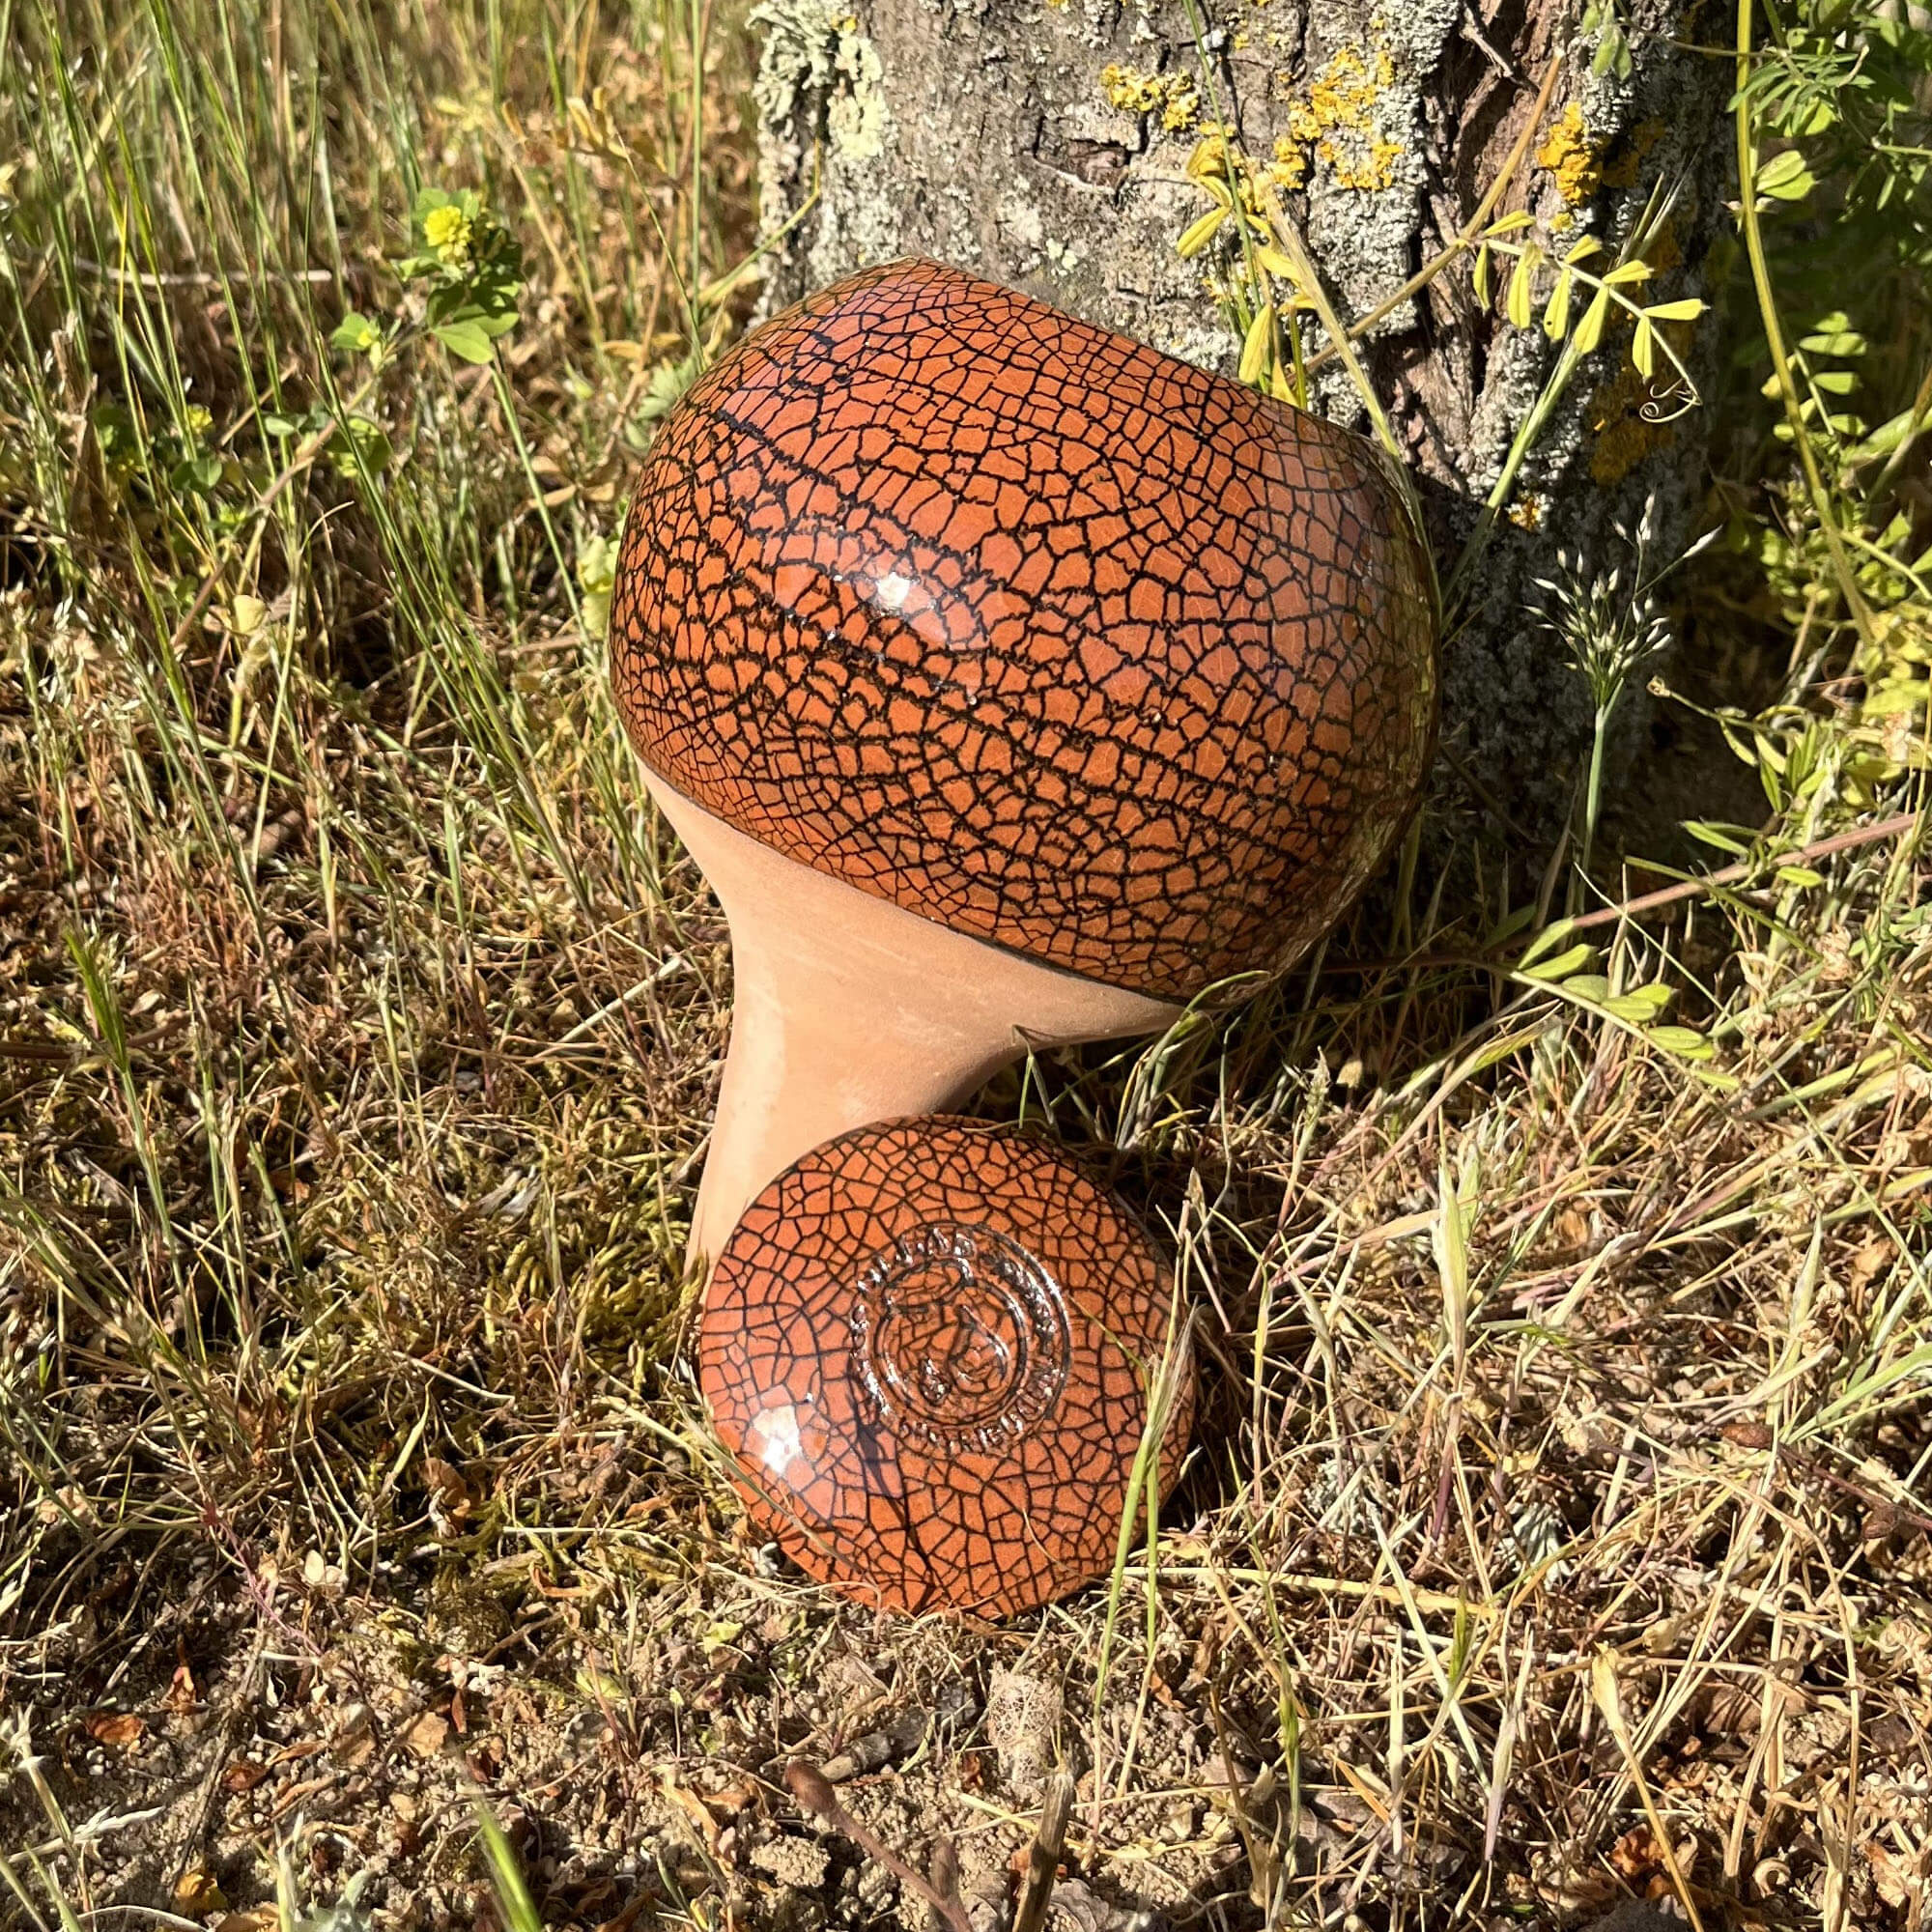
Olla Marron Effet Craquelé à planter OLLASDISTRIBUTION
Step 1: Prepare Your Pots! Using the drill and stone, clean up the casting marks on both pots. Use the stone to open up the drain hole on one of the pots. You will use this pot for the top. The larger hole makes it easier to fill the olla with water. Cut your plastic piece to fit in the bottom of the other (bottom) pot.

Ollas à planter émaillé / Lutton Jane Nantes
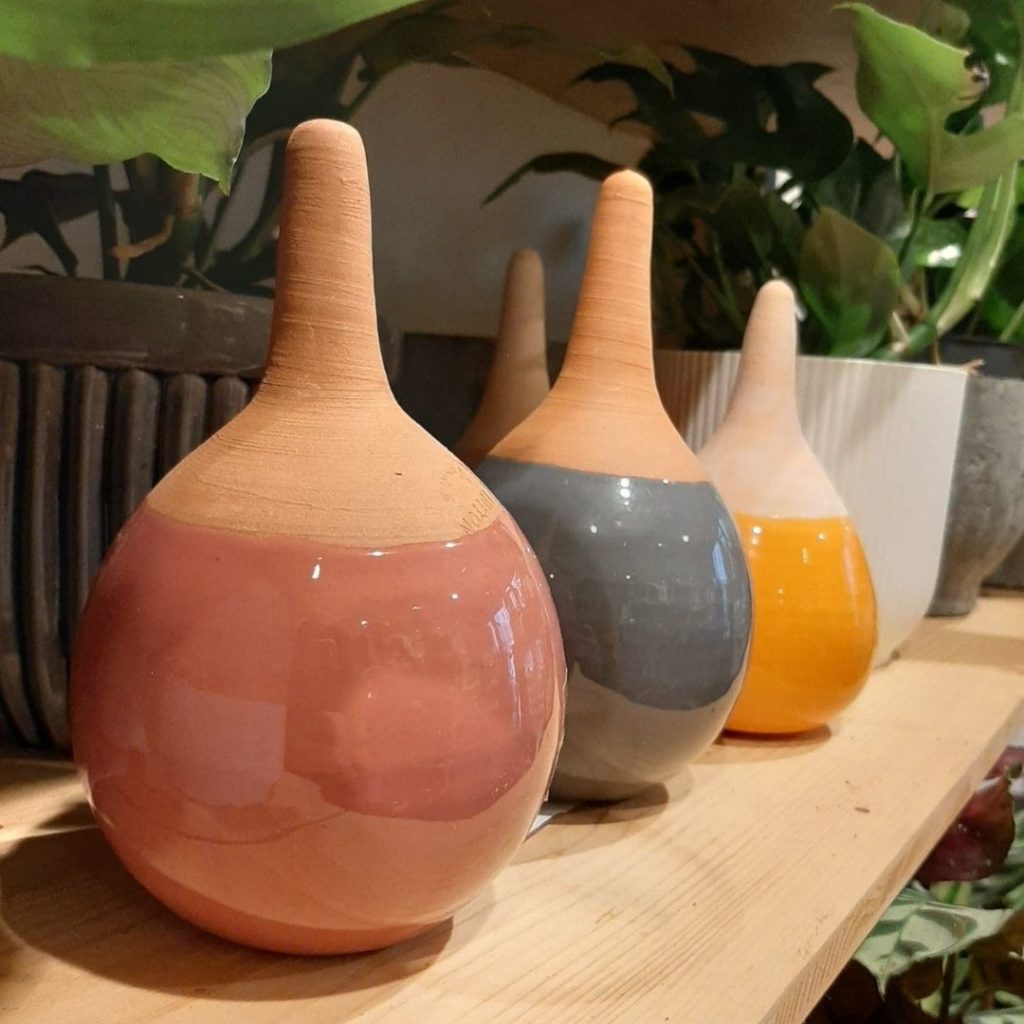
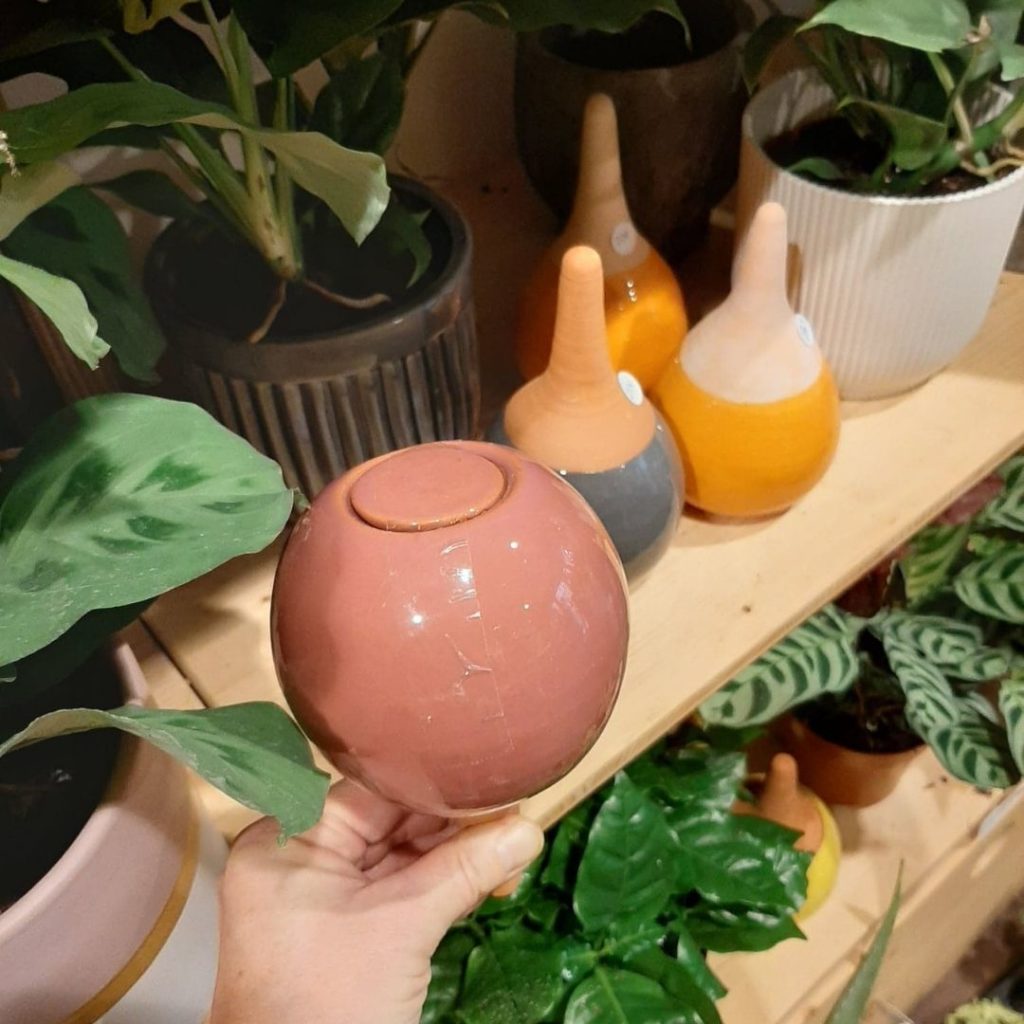
Aperçu. Ollas à Planter. Ollas à Planter Nuancées. 18.00 €. Un produit artisanal, écologique et fabriqué en Vendée. L'Olla à Planter, l'arroseur autonome idéal pour vos plantes. Acheter des Ollas à planter !

Mini Ollas à planter
Fill the olla with water through the open hole, and set the olla upright. You might need to lean it against something to steady it, if the silicone plug on the bottom hole is thick. Let the olla set for an hour or so, and then inspect the joined rims and bottom plugged hole for leaks. That is, beads of water.

Olla Jaune Sahara à planter OLLASDISTRIBUTION
"Ollas are a great way to keep your plants watered. If you want to make your own you'll need some terracotta pots, mounting putty, some sand and cement to make concrete, and also a few saucers.
Ollas à planter émaillé / Lutton Jane Nantes
A: As a general guide, smaller Ollas are good for container gardening or large pots . The larger Ollas are good for larger containers or outside ground applications. The general rule of thumb when selecting an olla for a particular pot or space, is to keep in mind that the water seeps out approximately the radius of the olla; the larger the space, the bigger the olla you will need.

Wepot Irriguez vos plantes de manière écologique
Make sure to clear any debris out of your clay pots before you start. 1. Place the painters' tape over the drainage hole on the exterior of one of the clay pots only. With your waterproof sealant and applicator, fill this hole with sealant and leave to dry for 24 hours, or as directed. The painters' tape should keep the sealant in the hole.

Ollas à planter émaillé / Lutton Jane Nantes
Homemade ollas using terracotta pots! When I finally had the time to make them, I found the perfect pot size, on sale for just $1.00 each. Woohoo! So for the much more budget-friendly price of $24.00 I made myself a dozen ollas. That's $2.00 each! How to Make Awesome Two-Dollar Ollas You will need. Two equal sized unglazed terracotta pots.

Ollas Cône à planter 100 Artisanal Ollas Lutton Diffuseur d'eau
Required Materials to Make an Ollas. Terracotta pots, saucers, a small amount of cement, sand, and mounting putty is all you need to grab. What Exactly is an Ollas. Ollas are water-filled clay pots buried in the soil to supply water to the plants around them. They act as underground irrigation systems. Ollas are also known as clay pot.
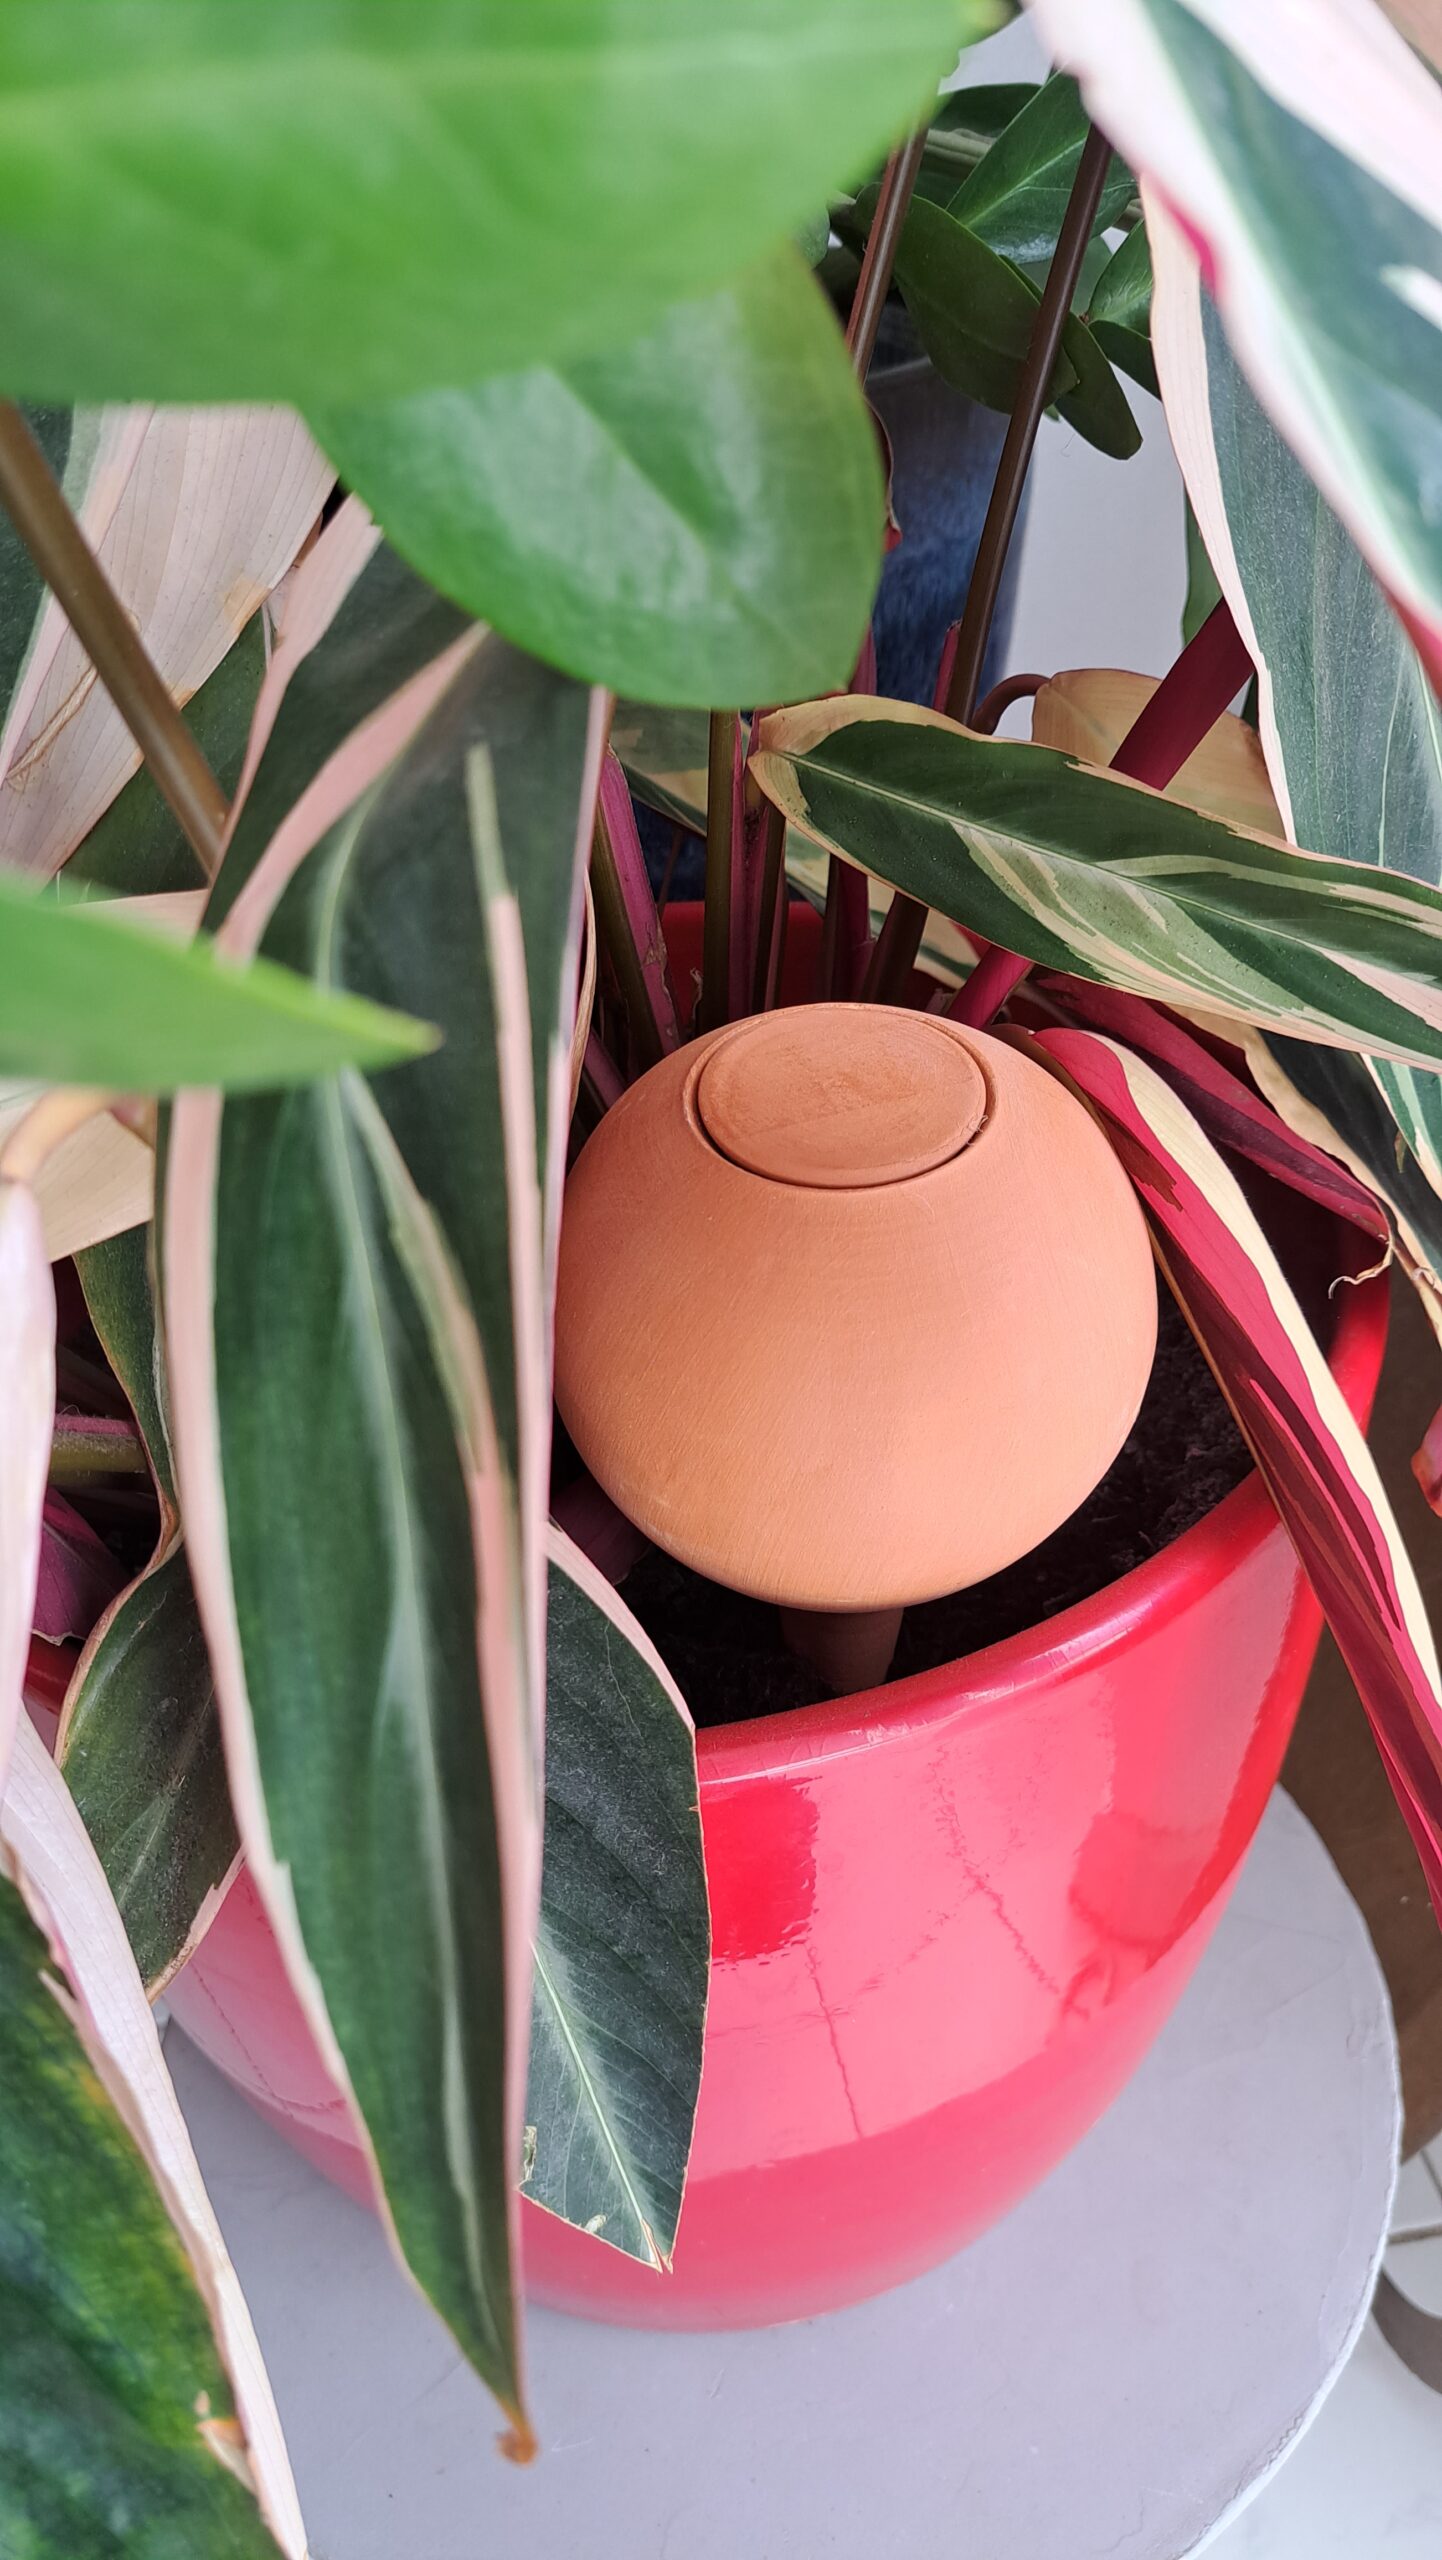
Ollas à planter terre naturelle / Lutton Jane Nantes
Ollas are clay pots that you bury in the soil at the same level that a plant's roots grow. Traditional ollas look like urns with a large reservoir for holding water and a smaller neck. Sometimes the neck is flush with the top of the reservoir, and sometimes it's long so that the olla is better at deep watering.
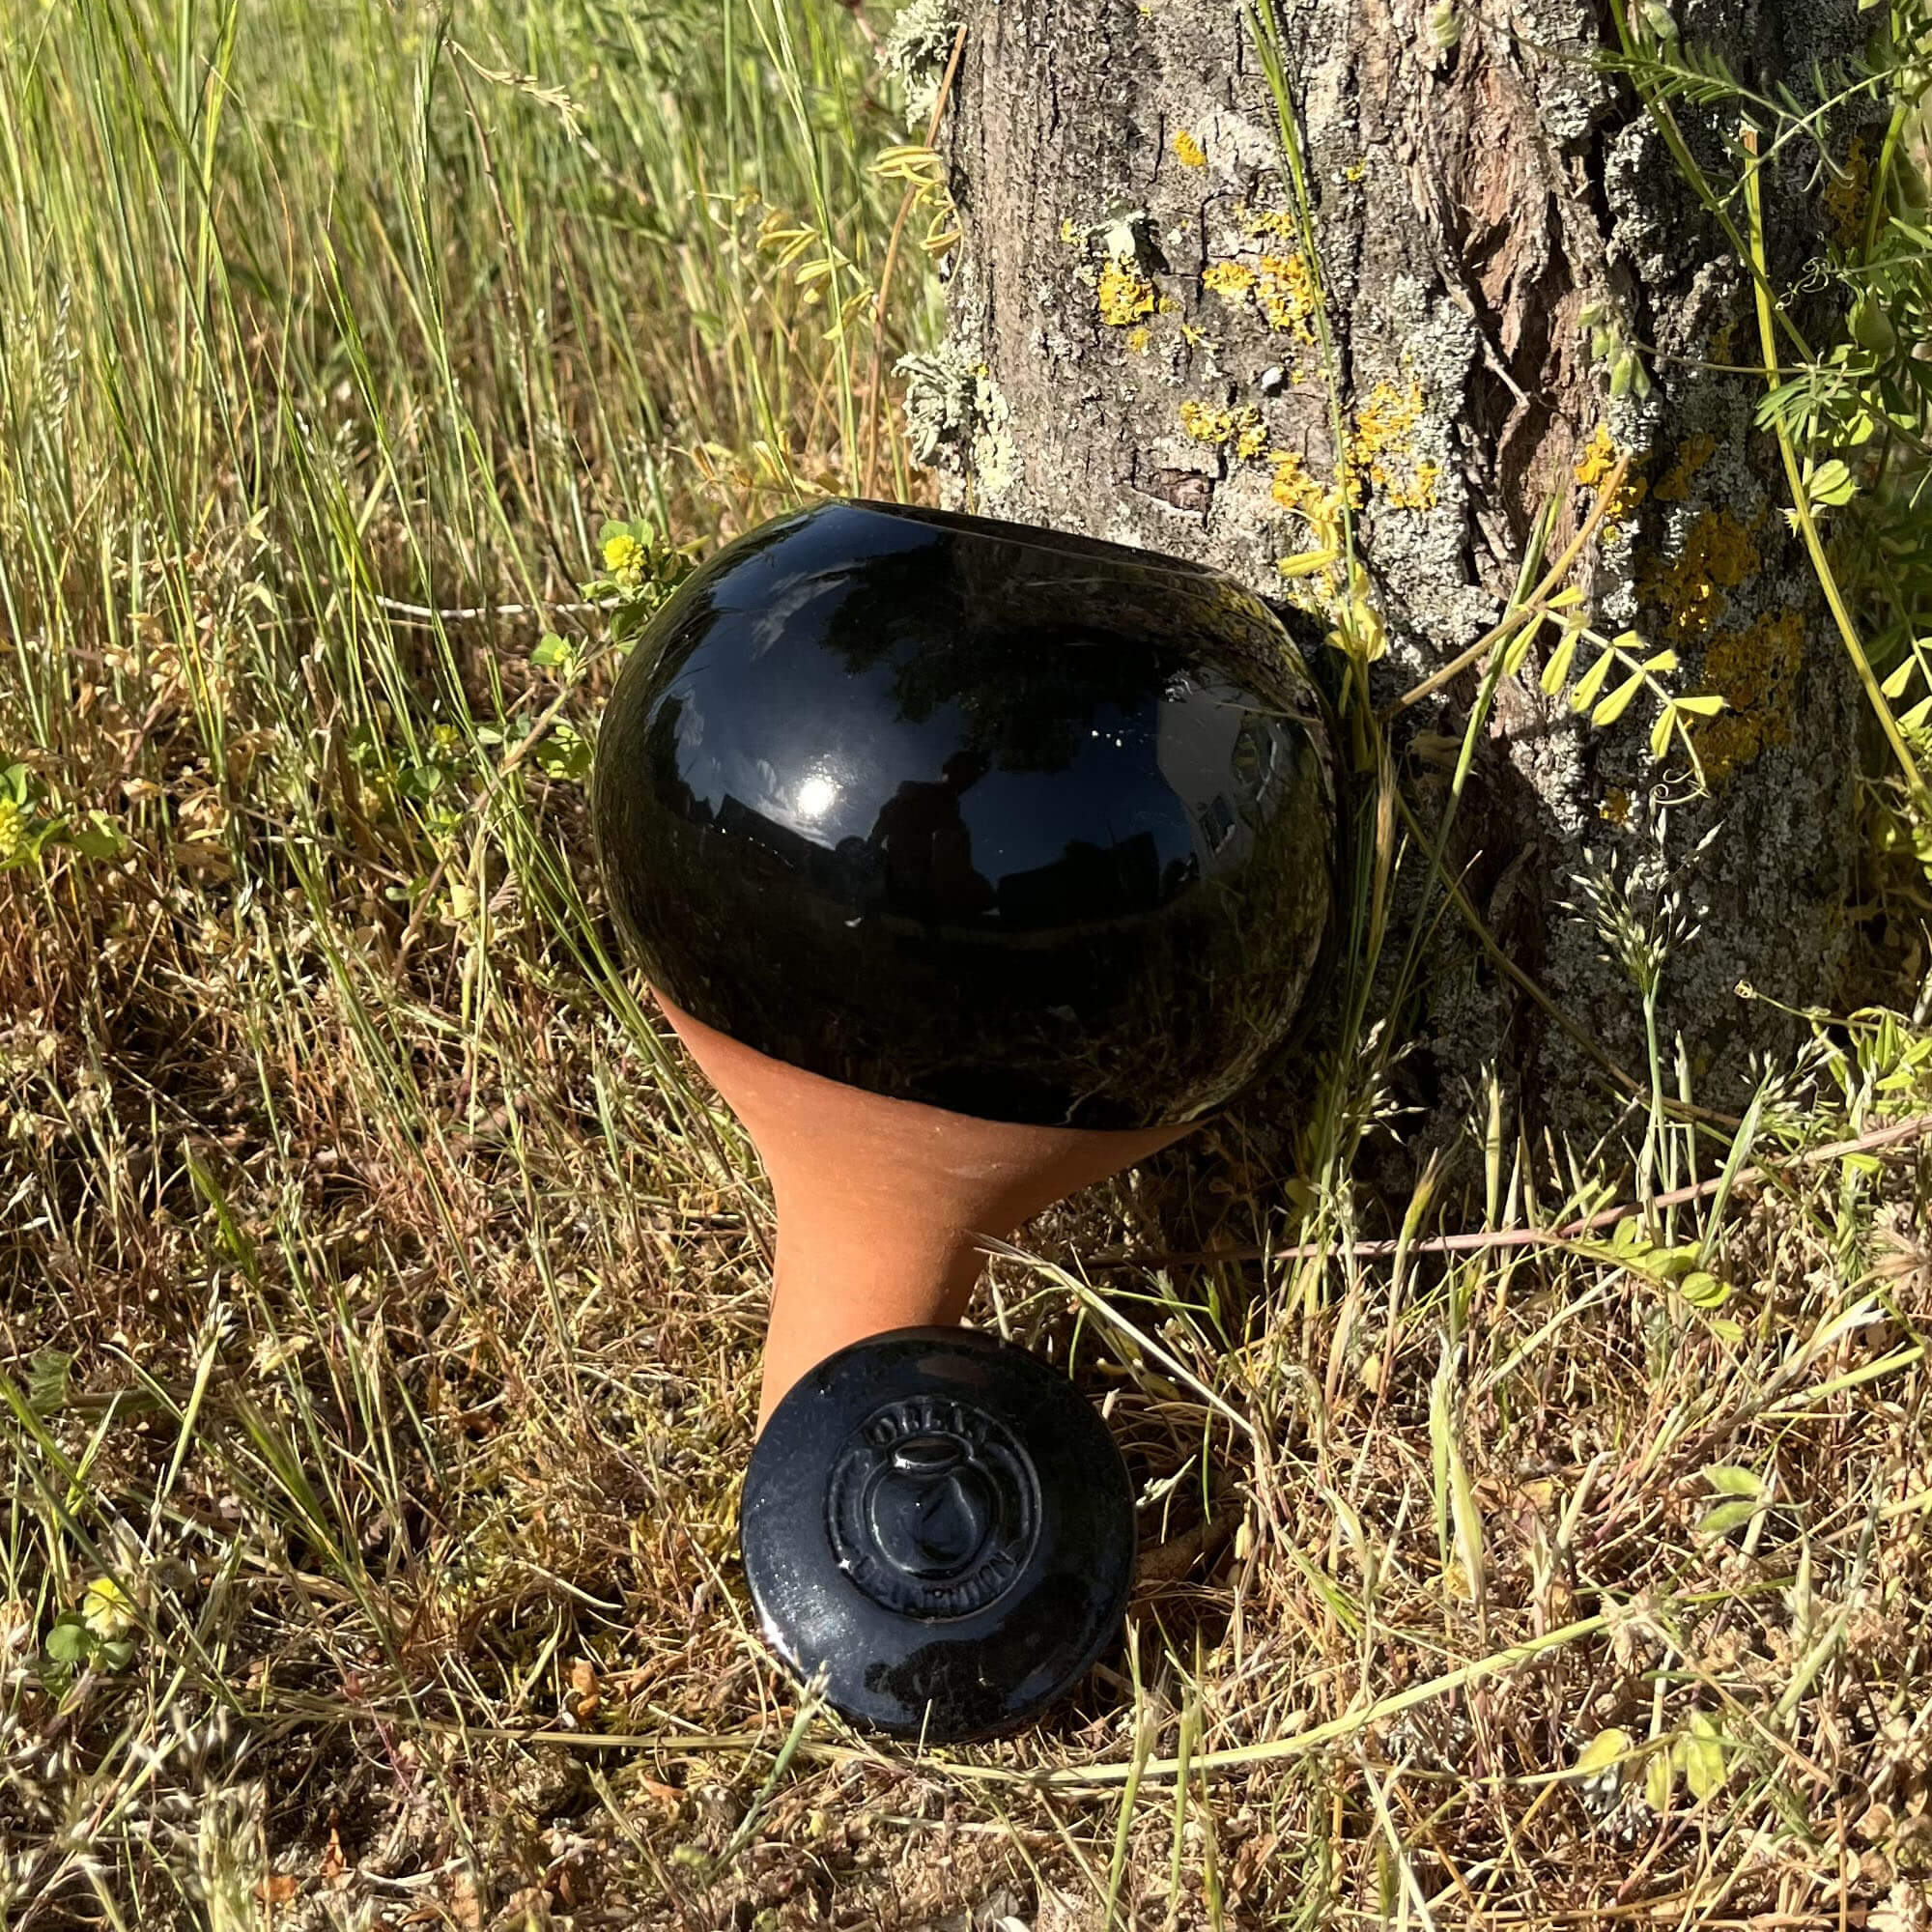
Olla Noir à planter OLLASDISTRIBUTION
Keep your garden watered even when you're away from home by creating an olla self-watering system. We have three ways to make an olla system. The first uses a single terra-cotta pot and tray, the second method uses two terra-cotta pots, and the third method incorporates drip-irrigation hoses. All methods are fairly inexpensive and easy to make.

Ollas à planter émaillé / Lutton Jane Nantes
These clay pots can supply garden plants with water evenly for several days at a time. The clay pots are buried in the earth up to the neck and then filled with water [Photo: S.Matthews/ Shutterstock.com] Watering plants with ollas is a method that has been used for thousands of years to make gardening easier and to save water.

Coffret d'ollas à planter Ollas Lutton
There's also some maintenance in keeping an olla in perfect working order. 'Minerals can build up on the olla pots, which can clog the pores and requires cleaning,' Karen says. To remedy, mix a 1:1 solution of water and white vinegar, fill the ollas and let rest for several hours to allow the vinegar to seep through.

Réserve d'eau Ollas à planter Les Jardins Funéraires
Two simple ways to make your own ollas. These traditional self-watering vessels are low-tech, easy to DIY, and will help keep plants watered in the driest co.